This document describes how to get a NUC up and running with Fuchsia.
1. Get Parts
2. Prepare the NUC
3. Install Fuchsia
4. Update NUC BIOS to allow netbooting
1. Get Parts
You’ll need the following:
- USB 3.0 Drive
- NUC
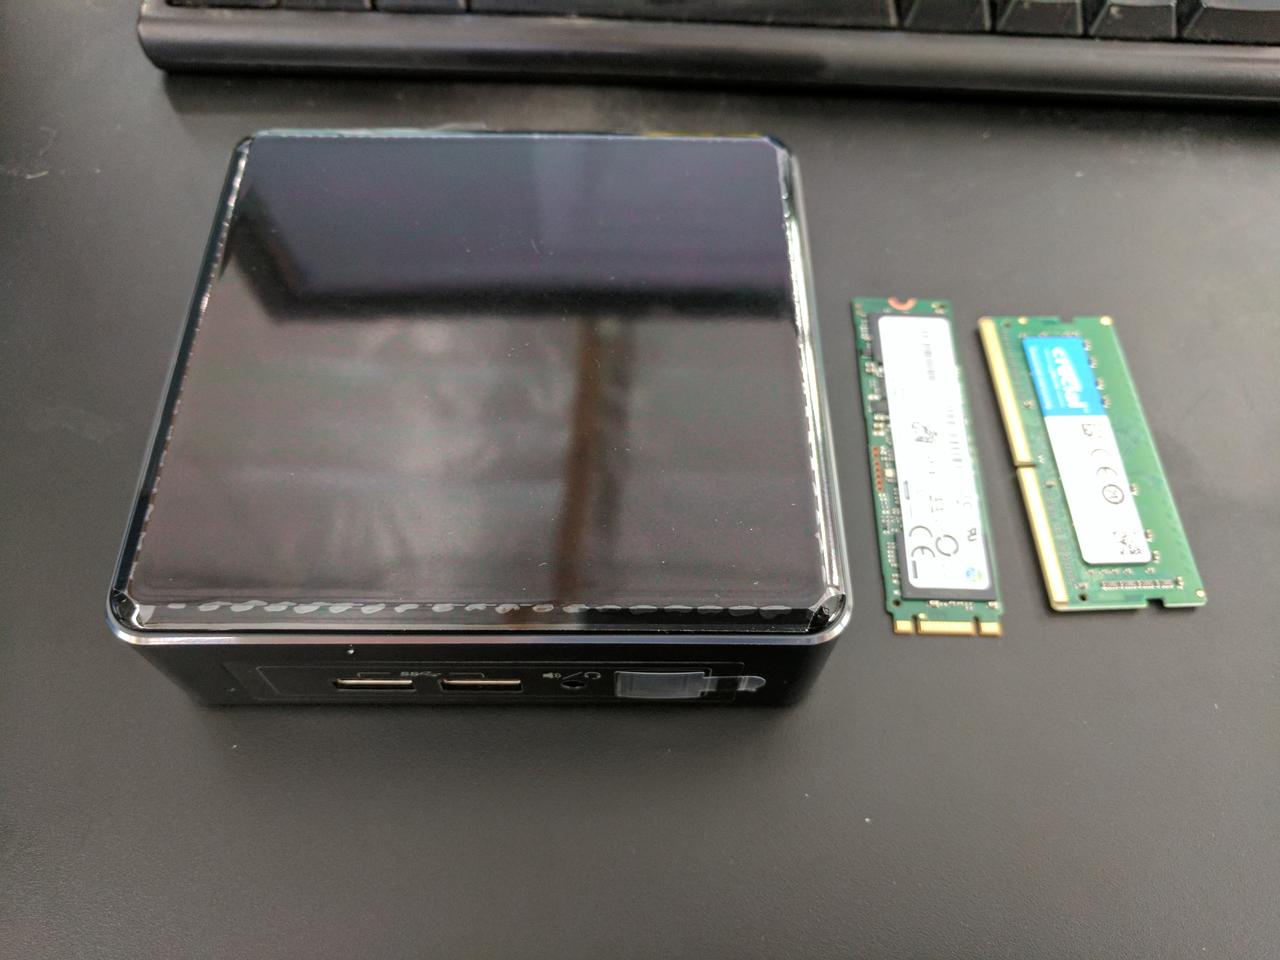
- RAM
- m.2 SSD
- Keyboard
- Mouse
- Monitor that supports HDMI
- HDMI cable
- ethernet cable
- Magnetic tip phillips head screwdriver.
This table shows what I bought from Amazon.
| Item | Link | Notes: |
|---|---|---|
| NUC | B01MSZLO9P | Get a NUC7 or NUC6 for gpu support. |
| RAM | B01BIWKP58 | Works fine. |
| SSD (Only need one, | B01IAGSDJ0 | Works fine. |
| I bought some of each) | B00TGIVZTW | Works fine. |
| B01M9K0N8I | Works fine. | |
| Optional: | ||
| Keyboard and Mouse | B00B7GV802 | Works fine. Next time I’d get a keyboard with a smaller foot print. |
| Monitor | B015WCV70W | Works fine. |
| HDMI Cable | B014I8SIJY | Works fine. |
| USB 3.0 drive | B01BGTG41W | Works fine. |
2. Prepare the NUC
NUCs don’t come with RAM or an SSD so you need to install them.
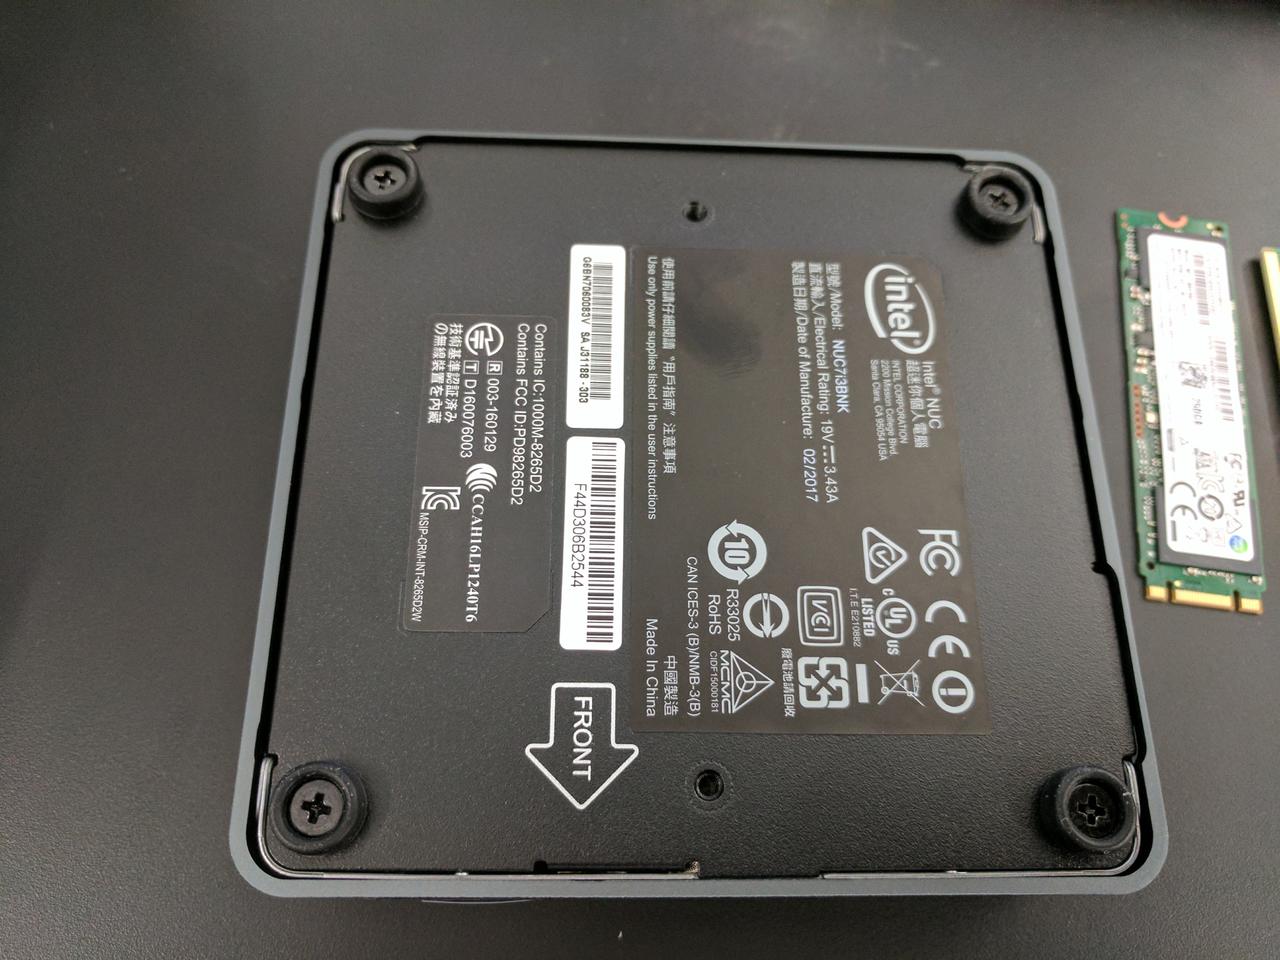
- Remove the phillips screws in the bottom feet of the NUC.
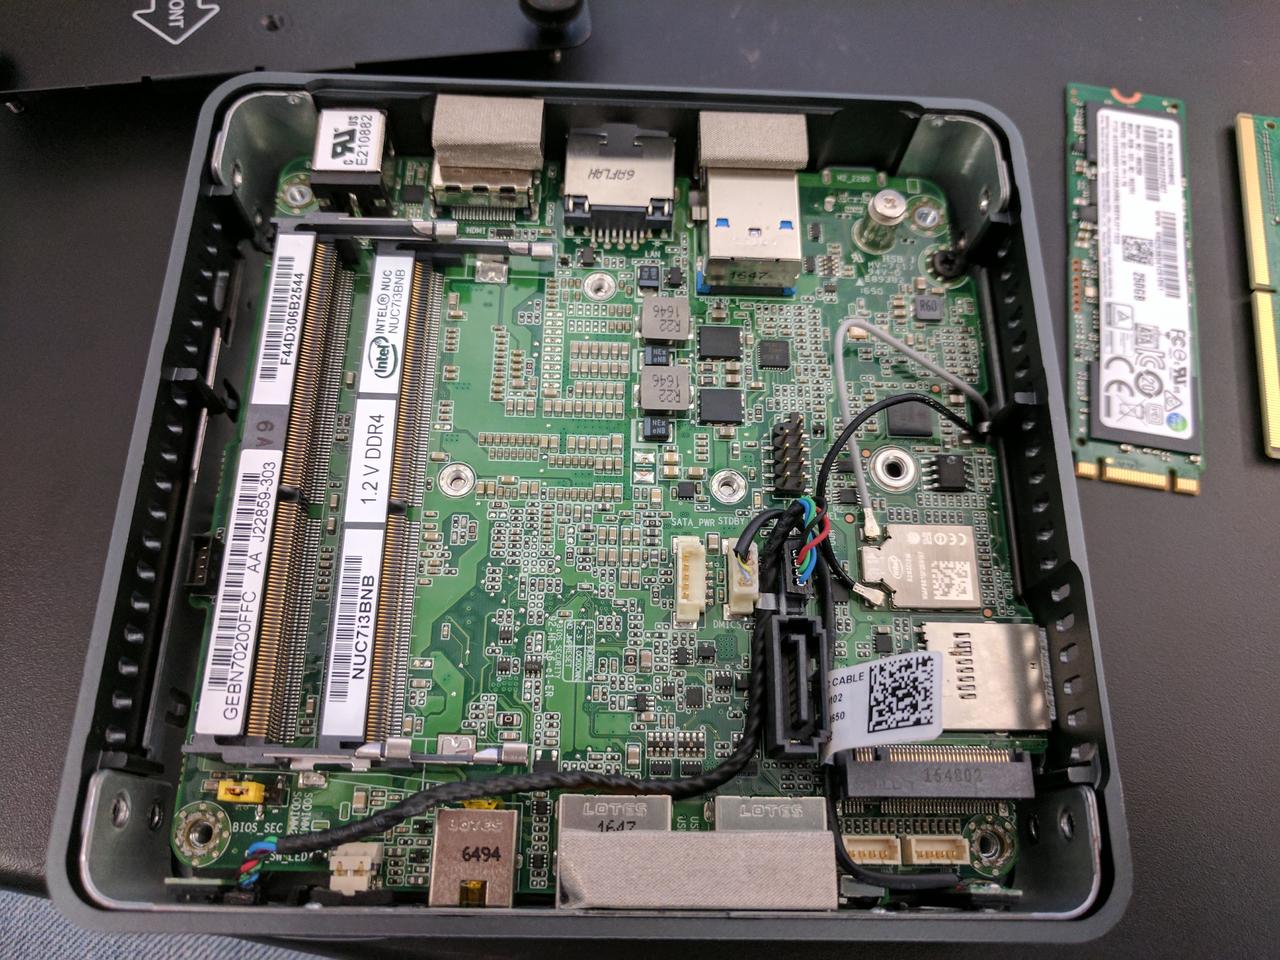
1. Install the RAM. 1. Remove the phillips screw that will hold the SSD in place (phillips screwdriver with magnetic tip is useful here). 1. Install the SSD. 1. Screw the SSD in place using screw from 3.
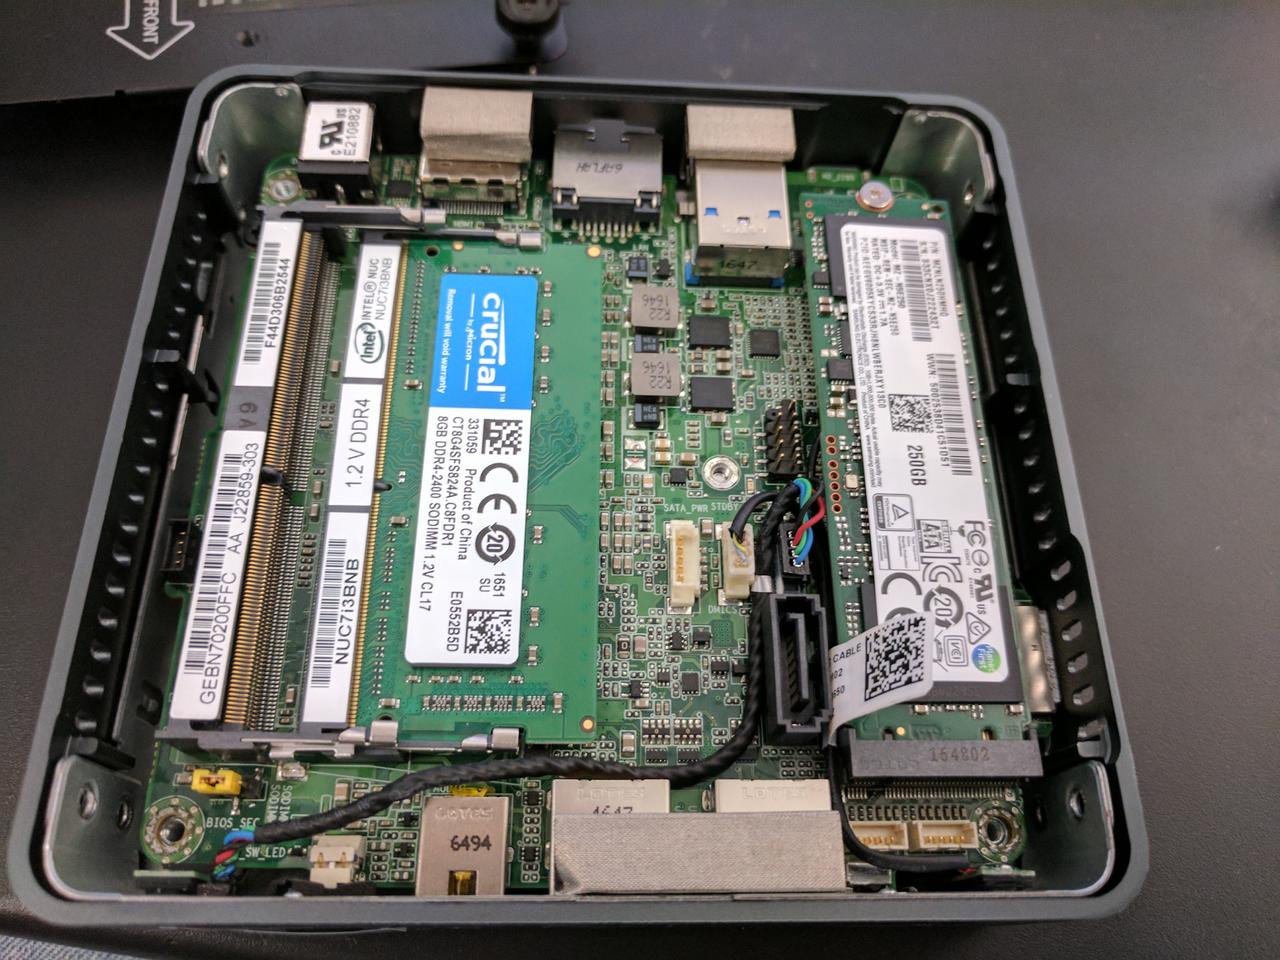
1. Replace bottom and screw feet back in. 1.(Optional) Apply fuchsia logo.
1. Plug power, ethernet, HDMI, keyboard, and mouse into NUC.
3. Update NUC BIOS to enable EFI booting
- Reboot NUC.
- Press F2 while booting to enter BIOS.
- In the Boot Order window on the left click the Legacy tab.
- Uncheck ‘Legacy Boot’.
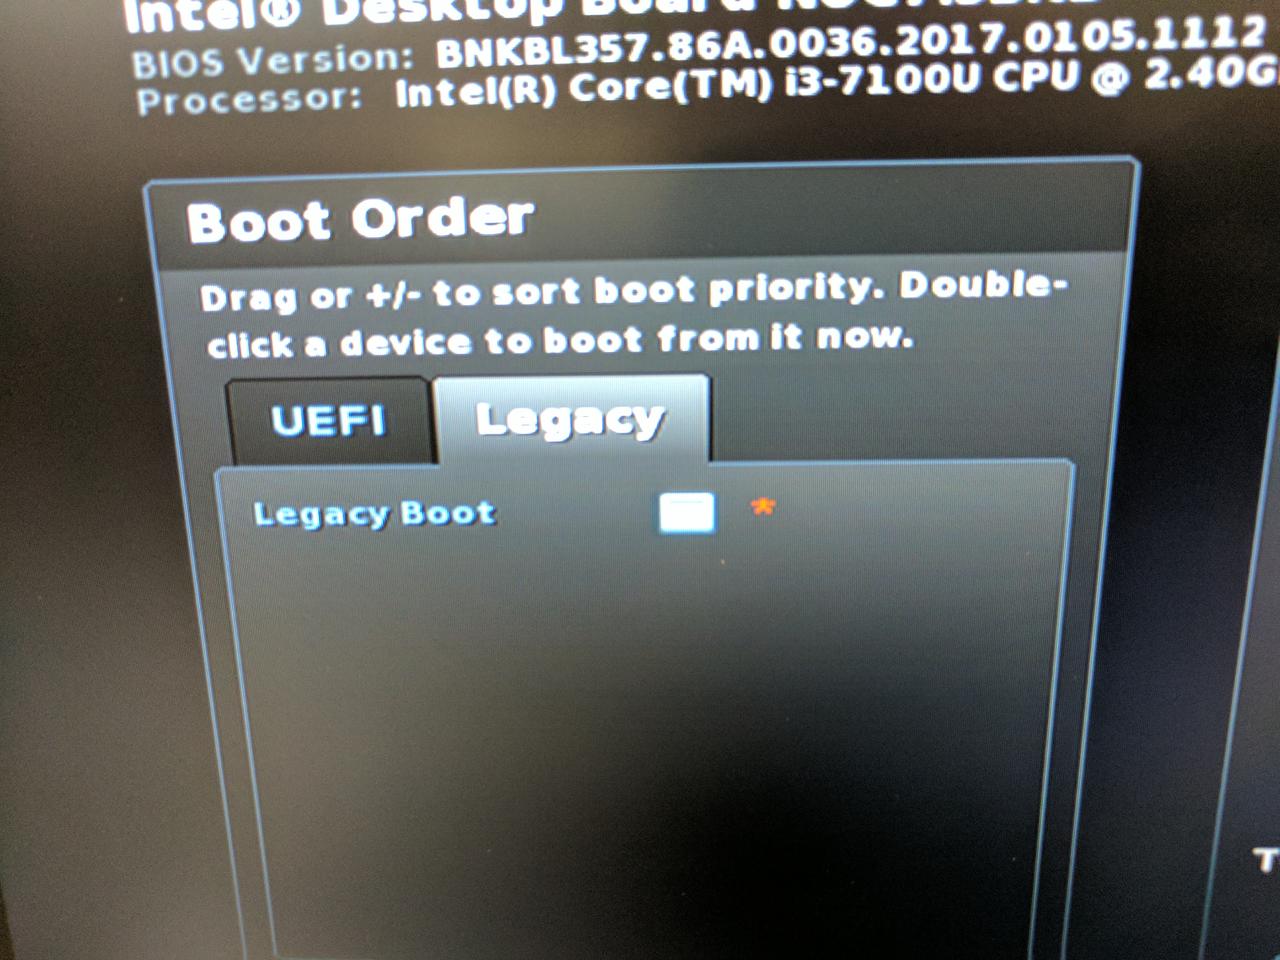
1. Press the X in the top right to leave the BIOS. Ensure you save before exiting.
4. Build Fuchsia
- Follow the getting started guidelines
5. Pave Fuchsia
- Plug in your USB key to your build workstation
- Identify the path to your USB key by running
fx list-usb-disks - Create a Zedboot USB by running
fx mkzedboot /path/to/usb/disk - Plug the Zedboot USB key into the NUC and boot it
- Run
fx paveon your workstation
All done!